


Table of contents
As a former front-end developer who gave up coding several years ago, my 2022's new year resolution is back to the tech world as DevRel.
The very first task ahead is to set up my learning blog using Up-To-Date Tech. (the Last blog I built was by WordPress 10 years ago :) ) For me, this mini-project means to get hands dirty again and set up something workable while not going too deep into coding.
Jamstack is the new standard architecture for the web. Using Git workflows and modern build tools, pre-rendered content is served to a CDN and made dynamic through APIs and serverless functions. Technologies in the stack include JavaScript frameworks, Static Site Generators, Headless CMSs, and CDNs.
Tradition vs. Jamstack
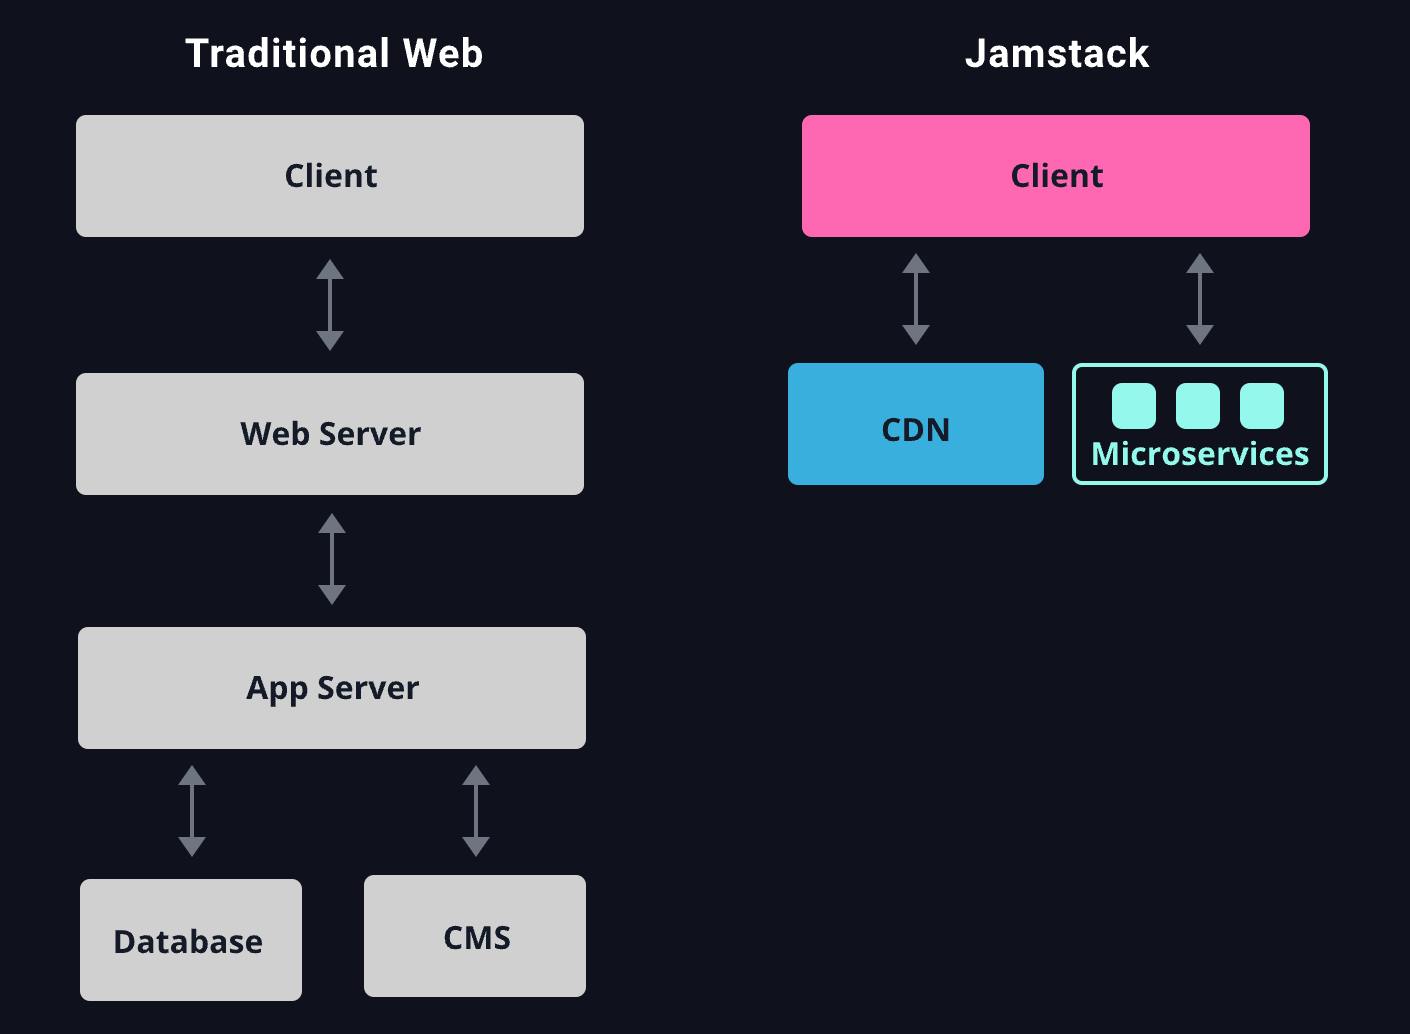 via jamstack.org
[Front-end] NextJS on Vercel
I heard about Vercel a lot these days, so it was firstly counted in. NextJS is the first choice on the Vercel dashboard. Though I haven't learned ReactJS before, I decided to pick it anyway.
After authorization with my GitHub account, Vercel cloned the NextJS template into my new repo and deployed it on the Vercel server – now, the visitor can view my site directly.
Compared with the old manual way
- Download from GitHub
- Run locally
- Find a server to upload and deploy
Vercel compresses them into one click. Super neat!
[Back-end] Ghost on Render
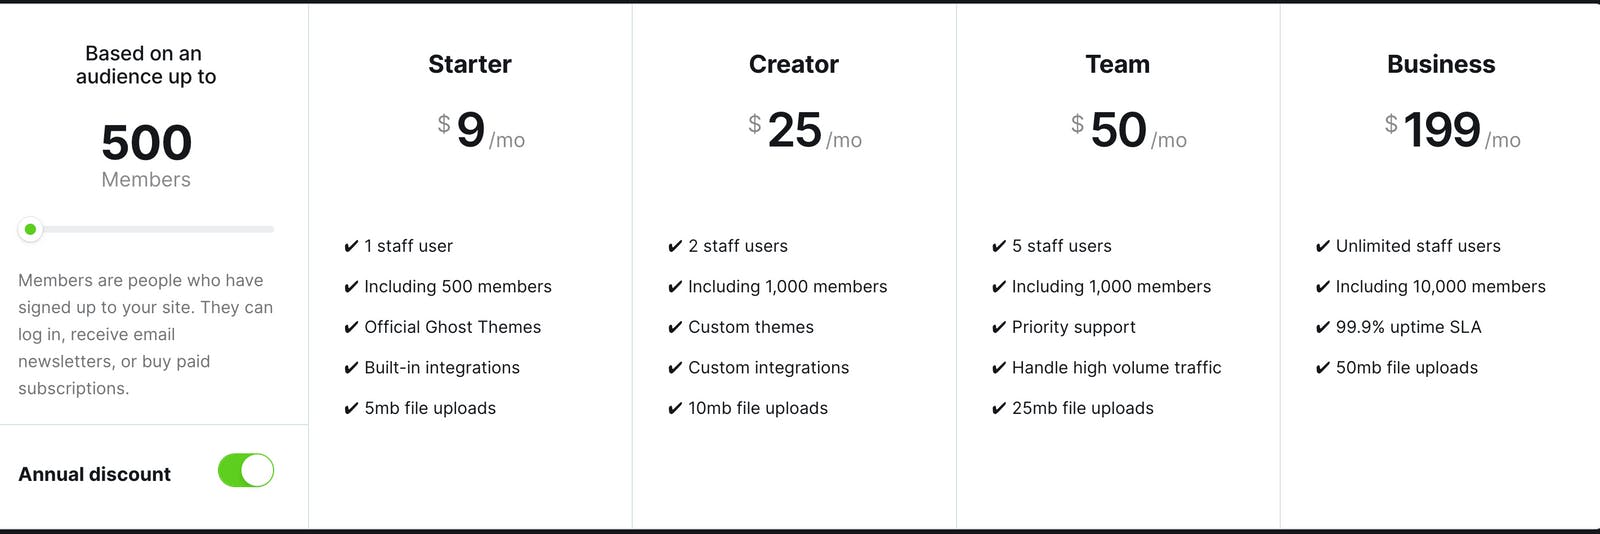
Now for the back-end, I need some ready-to-use CMS. Ghost is an open-sourced, self-hostable, headless CMS.
If I use Ghost service directly, the price is okay, but I want more flexibility and play around with more products.
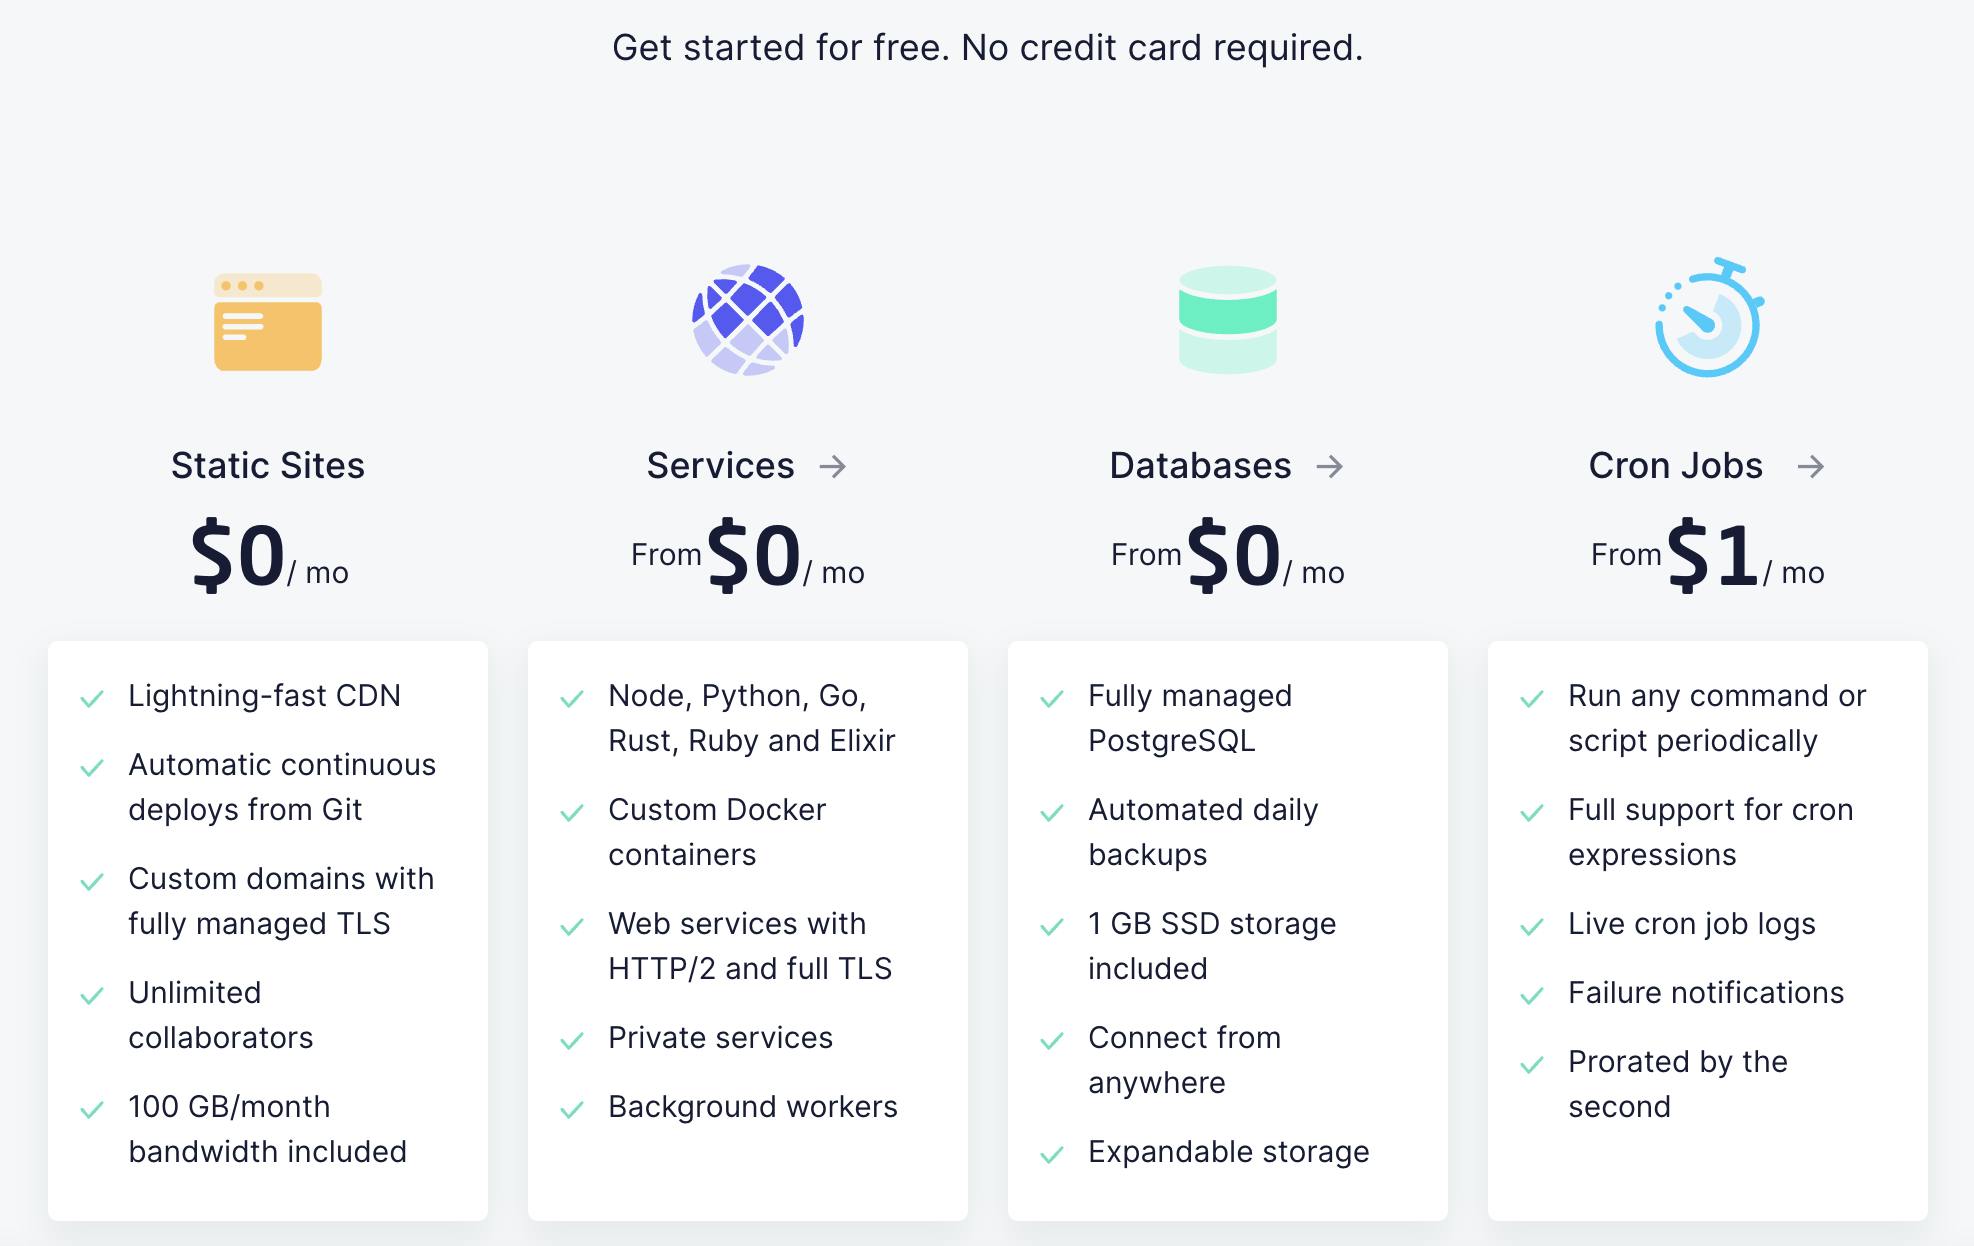
Render has a free plan to start.
And Render also has a detailed page about ghost deployment step-by-step render.com/docs/deploy-ghost
- Fork render-examples/ghost on GitHub or click ‘Use this template’.
- Create a new Web Service on Render, and give Render permission to access your new repo.
- Make sure the Environment is set to Docker and enter a name for your service.
Half done! Now we have a working CMS, and we will fetch its content by API to display on our NextJS page.
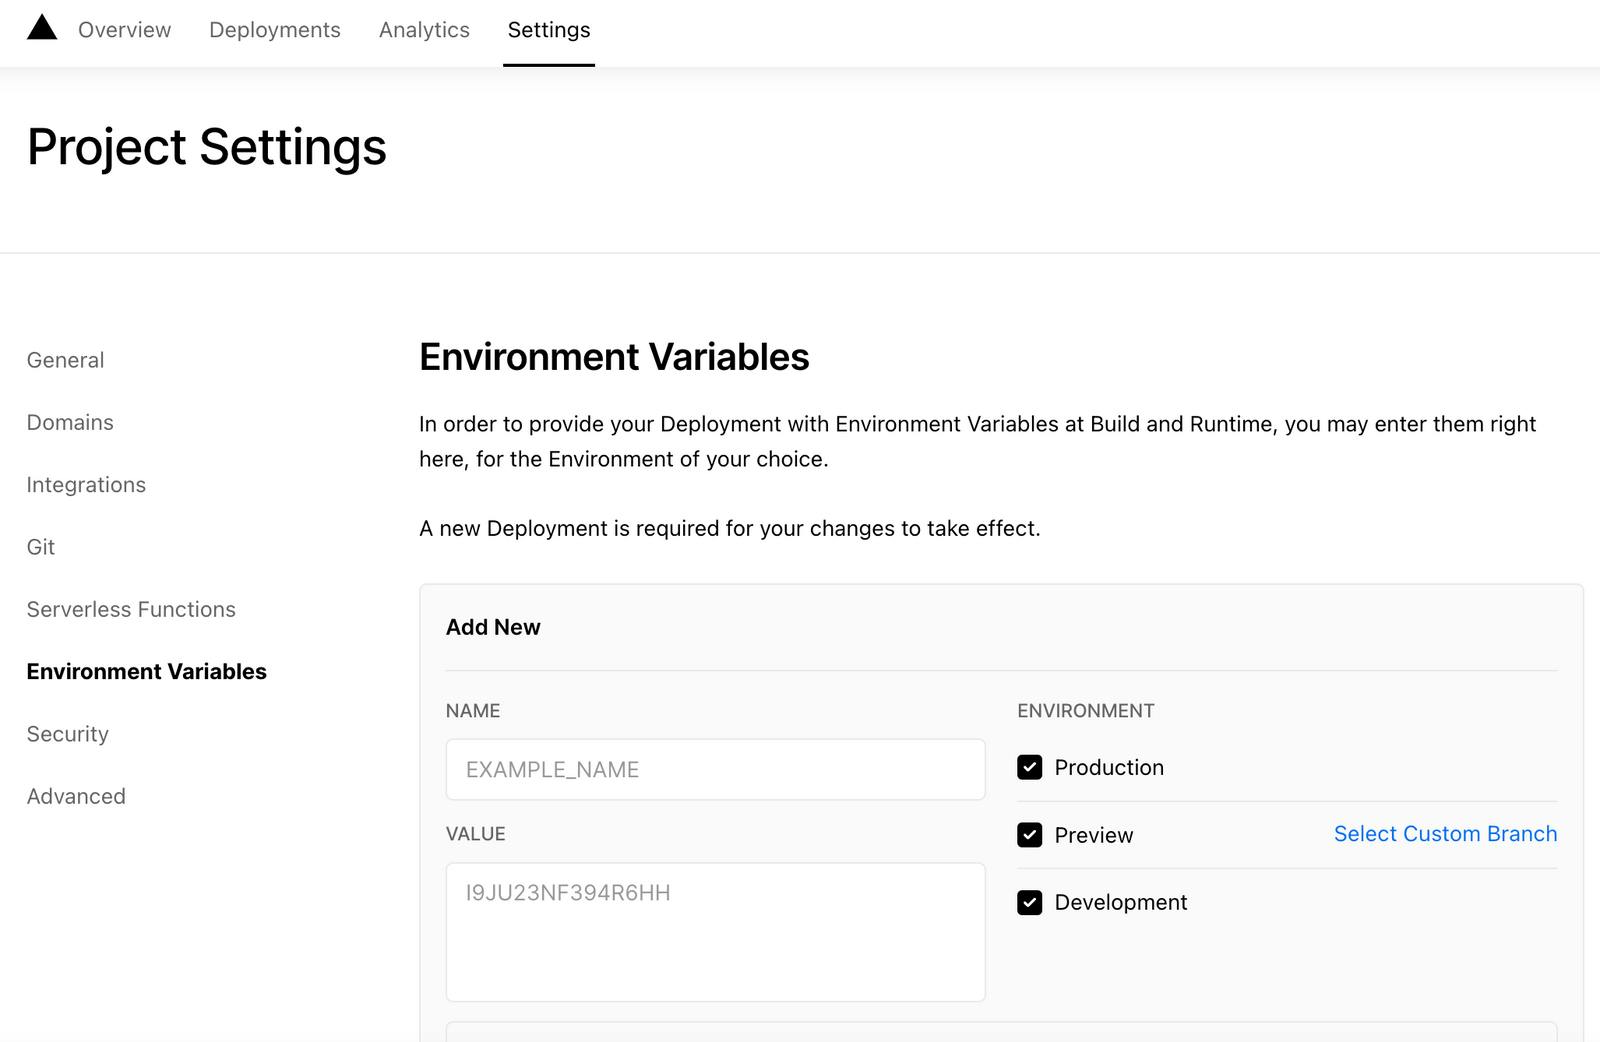
In Ghost Settings, add one new integration copy the API URL and Content API key.
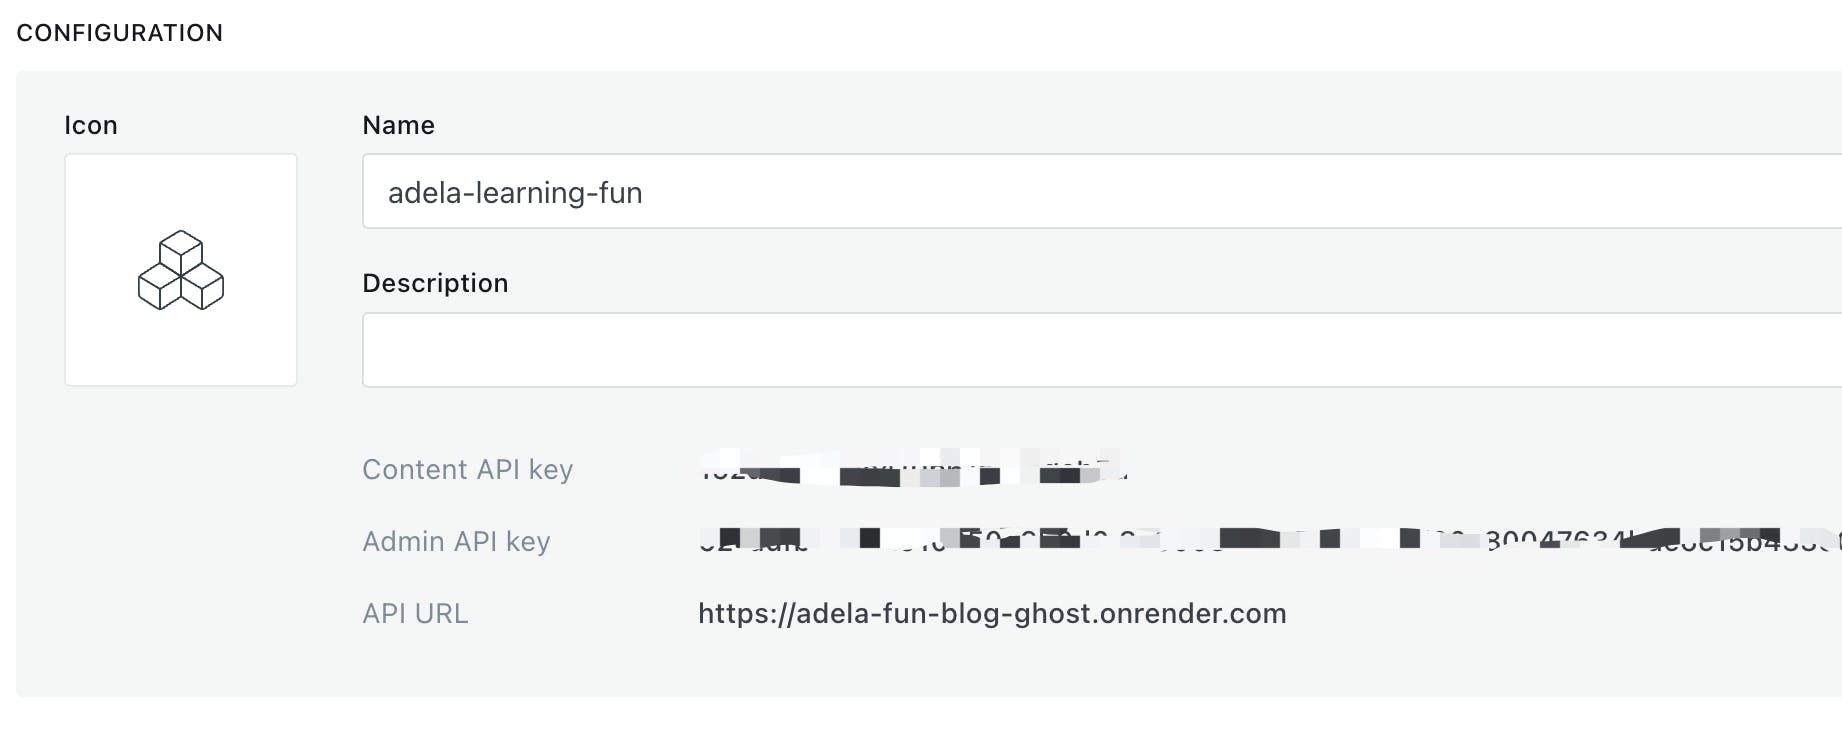
Paste them to Vercel Settings as Environment Variables.
Add the API in our NextJS project:
import GhostContentAPI from \"@tryghost/content-api\";

// Create API instance with site credentials
const api = new GhostContentAPI({
        url: process.env.GHOST_URL,
        key: process.env.GHOST_API_KEY,
        version: \"v4\",});

 // Grab all posts from Ghost
 export async function getPosts() {
         return await api.posts
        .browse({
        limit: \"all\",
        })
        .catch((err) => {
        console.error(err);
        });}
Hoooray! the data could be fetched successfully.
Now we need some spice. While coding the styles (tailwind), I found my ghost account was kicked out approximately every 30 minutes, and I had to regenerate the content API key.
With help from @Tianzhou, I realized it's because *Free account CPU is shared.
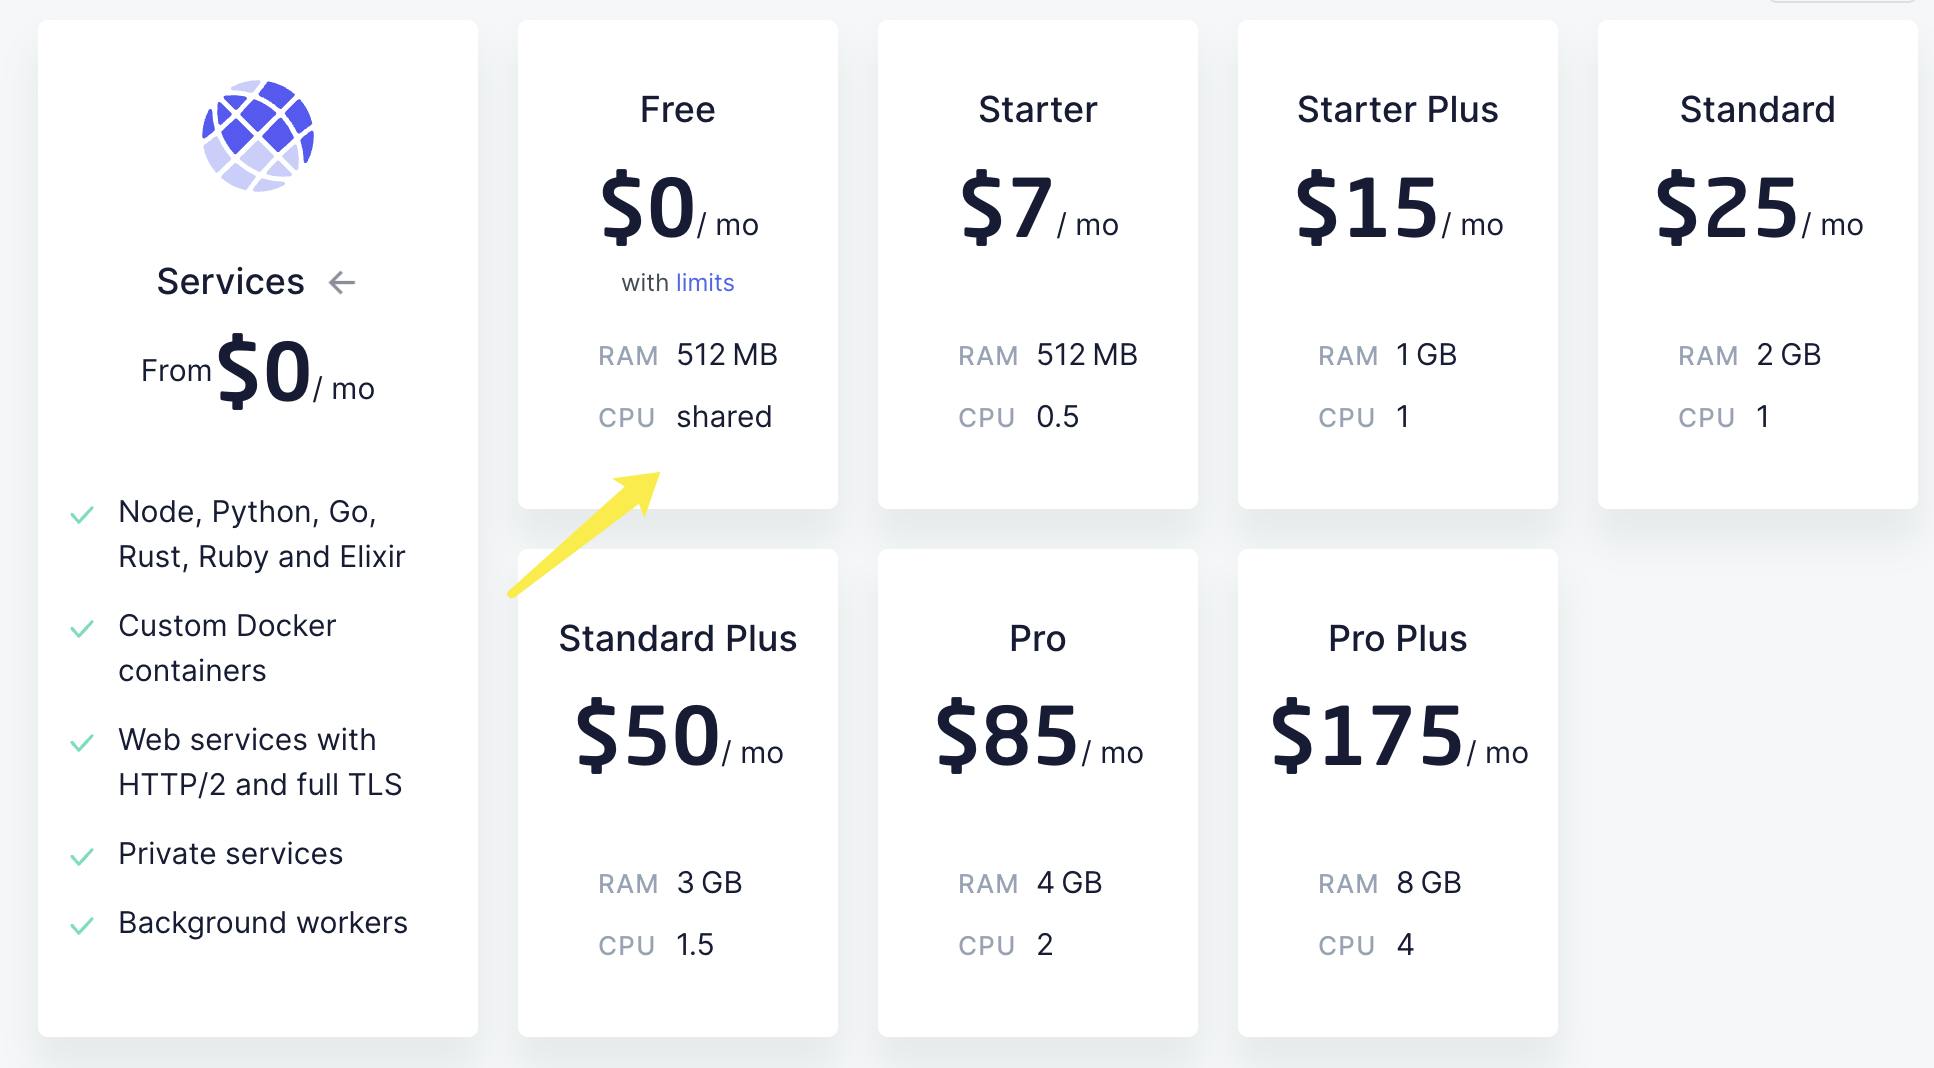
According to render.com/docs/free#free-web-services
"Free web services can be restarted at any time."
Yes, I upgraded! And everything works fine! Mission complete!
You can find my source code here https://github.com/adela-bytebase/nextjs-adela-fun-blog